
Clients Management
Manage multi-client access for your agent
What are Clients?
Clients is a feature to give agent access to your clients/customers. Each client has a separate account with their own email and password.
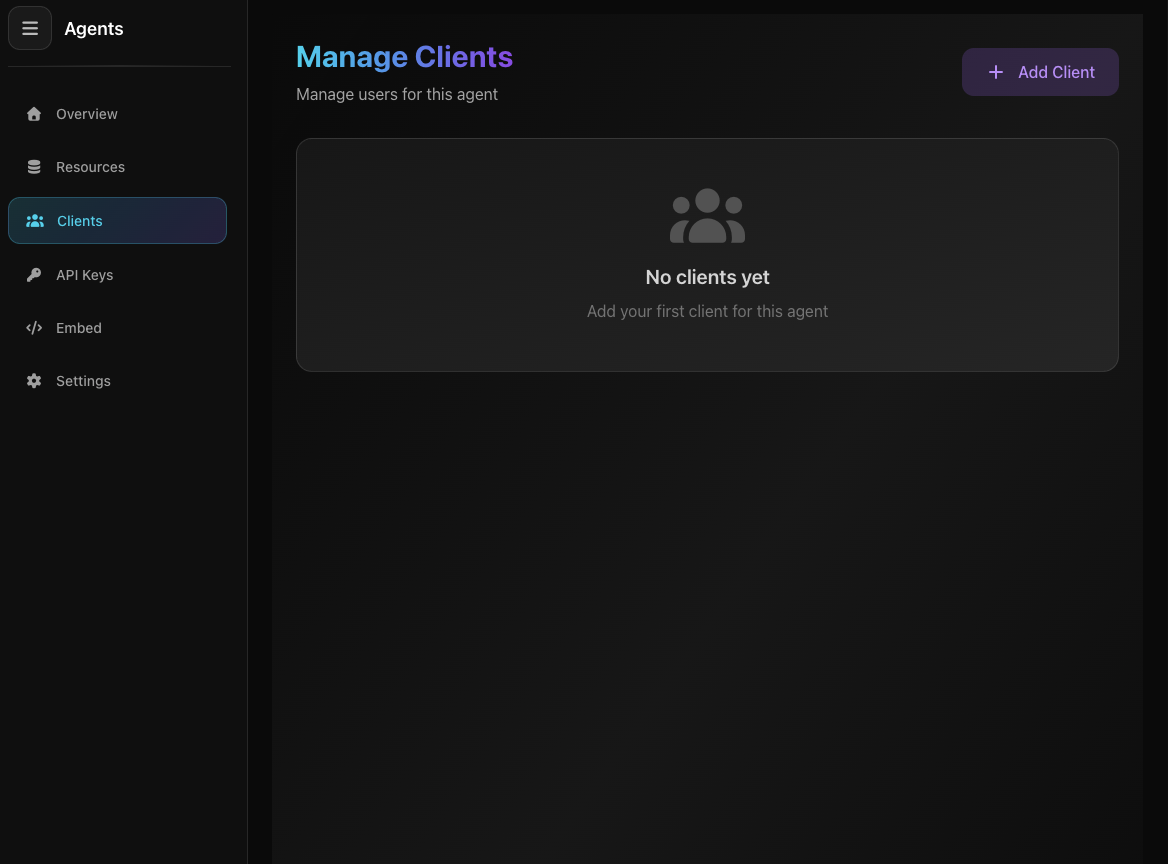
Screenshot: Clients Page
Screenshot: Clients Page
Use Cases:
- Give agent access to customers without sharing main account
- Each client has their own login credentials
- Perfect for agencies or B2B businesses
Adding a Client
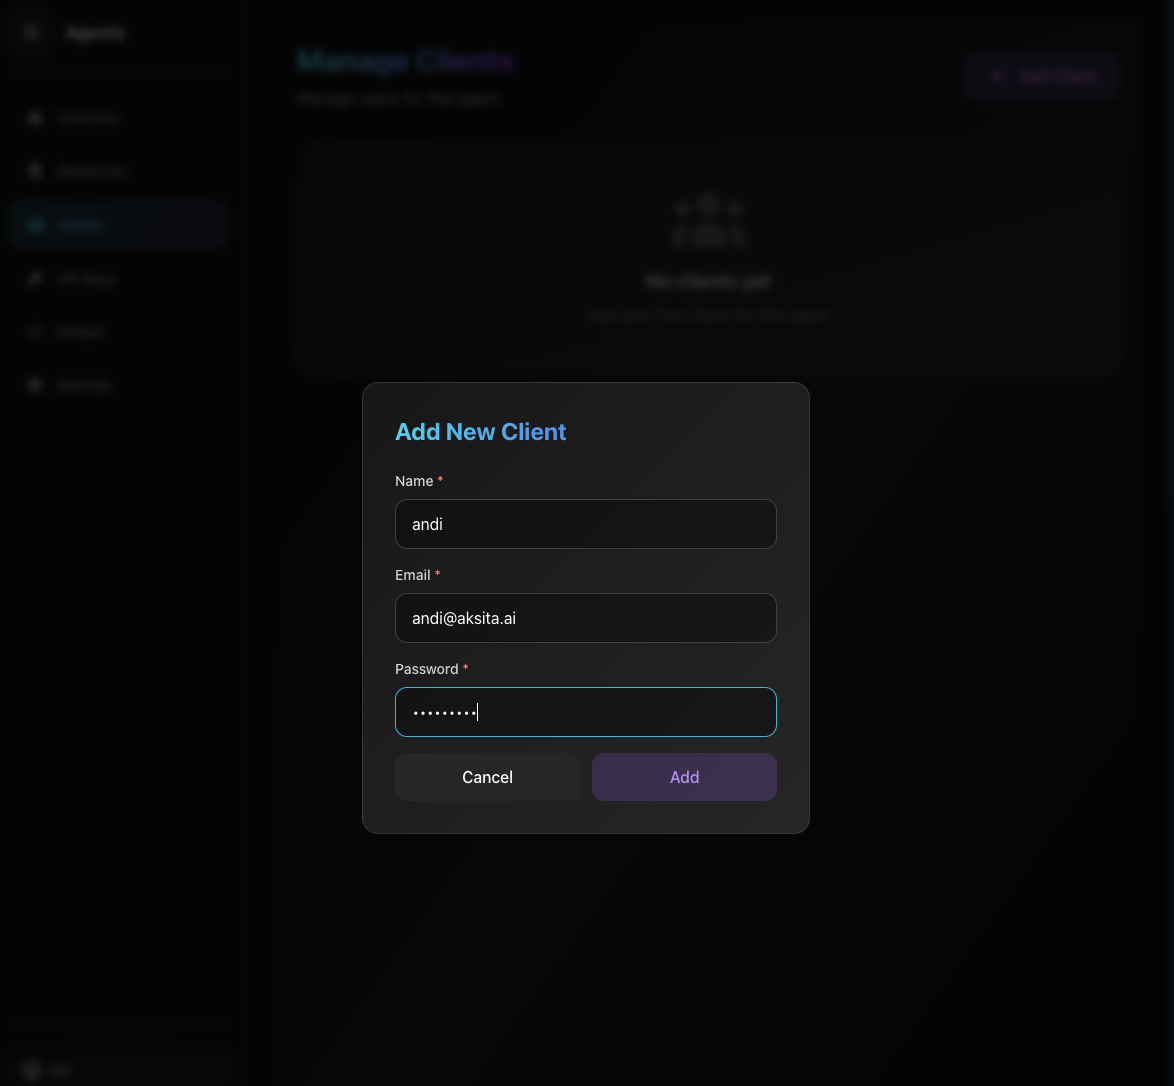
Screenshot: Add Client Form
Screenshot: Add Client Form
- 1 Open Clients Tab
Click "Clients" tab on agent page
- 2 Click Add Client Button
Click "+ Add Client" button in top right corner
- 3 Fill the Form
Name
Client name
Email
Email for login (must be unique)
Password
Password for client login
- 4 Save
Click "Add Client" button to save
View Client List
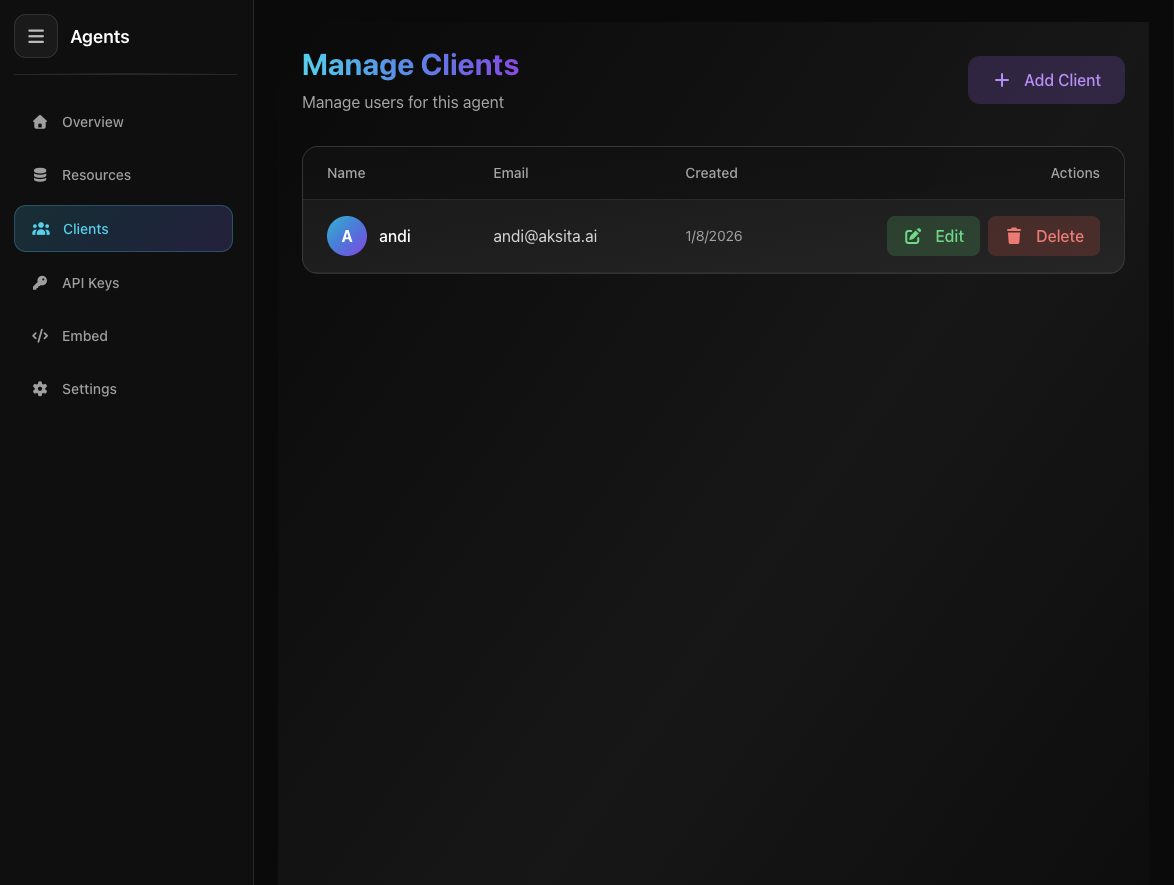
Screenshot: Client List
Screenshot: Client List
Information in Clients Table:
Client name with initial avatar (first letter of name)
Client login email
When client was added
Edit and Delete buttons in right column
Editing a Client
- 1 Click Edit Button
Click "Edit" button on the client row you want to change
- 2 Modify Data
Change name, email, or password (password optional - leave blank if not changing)
- 3 Save
Click "Update Client" to save changes
Deleting a Client
- 1 Click Delete Button
Click "Delete" button on the client row you want to remove
- 2 Confirm
Confirmation modal will appear, click "Delete" to confirm
- 3 Client Deleted
Client will be removed from system
What Happens When Deleting?
- Client can no longer log in to agent
- Client account is permanently deleted (cannot be undone)
- Client chat history remains (not deleted)
Important!
- Clients feature is only available for NON-public agents
- Client email must be unique (no duplicates)
- Client logs in using the email and password you created
Tips & Tricks
- Use strong passwords for client security
- Share login credentials with your client after creation
- When editing, password is optional (leave blank if not changing)